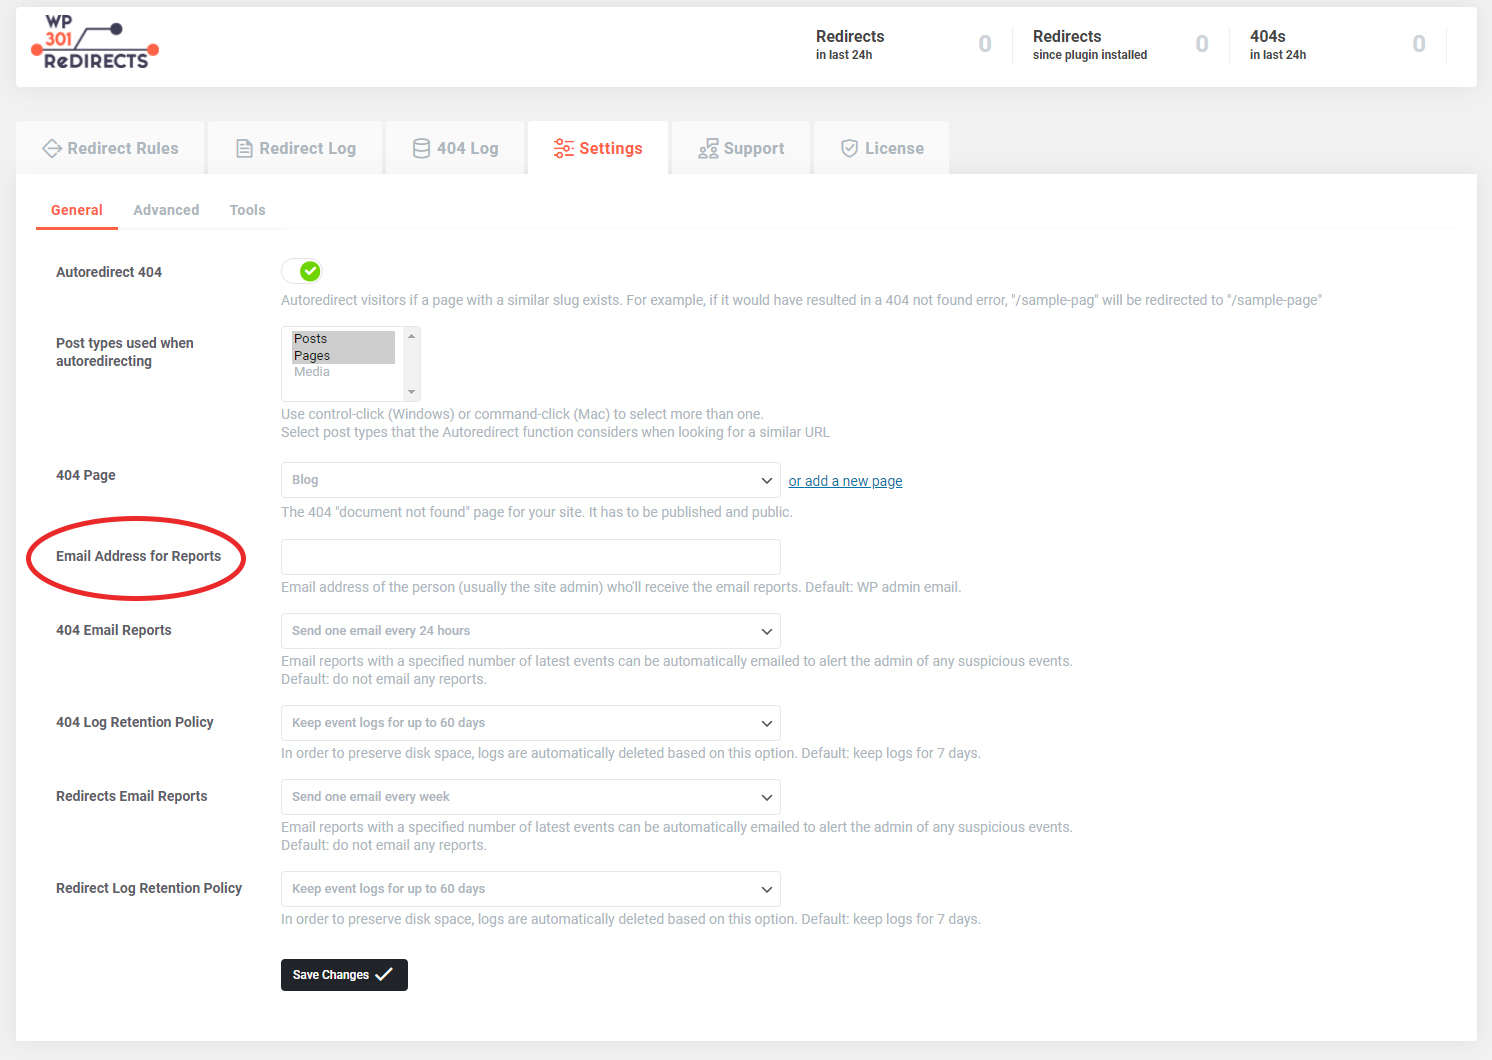
Autoredirect 404
If the Autoredirect 404 setting is turned on (green), the plugin will start automatically redirecting most of the 404 pages.
In a case of a typo in the URL of the page, WP 301 Redirects will be able to find an existing page on your site that’s very similar to the current URL. So, instead of showing an error message, the plugin will redirect visitors to that similar page instead.
How does this work?
For example, you can make a mistake and go to https://yourdomain.com/example-pos, where you forget to write the last letter “t”. Usually, WordPress will show you a 404 error showing that the post doesn’t exist. Instead of that, the WP 301 Redirects plugin would realize that there’s an existing https://yourdomain.com/example-post page and will automatically redirect you there.
In case there is more than one similar URL found on the site, the plugin will find the page that’s alphabetically the closest to the mistyped URL.
Post types used when auto redirecting
When the auto redirecting is turned on, you can decide what post types will be affected by this. By default, your posts & pages will be automatically redirected when possible, but you can choose to include any other post type to the rules.
To select more than one post type, hold down the control key on Windows or the command key on Mac to select multiple post types.
Don’t forget to save the changes.
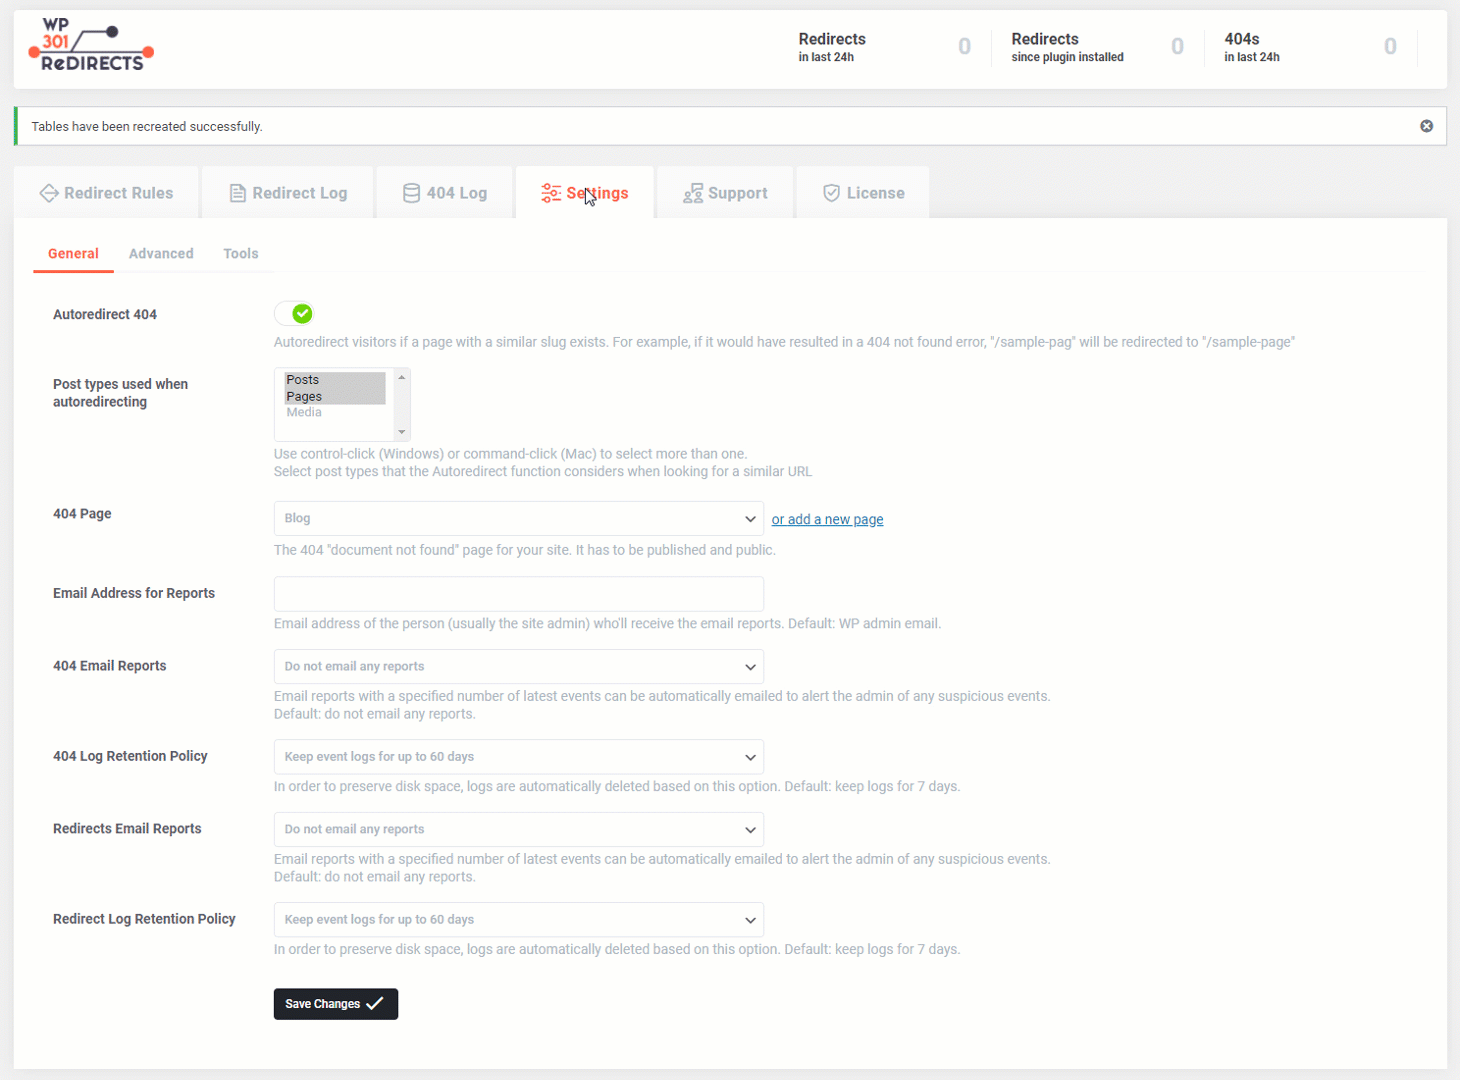
404 Page
If you have set the auto-redirect setting to off or if the plugin was not able to automatically redirect a page, your visitors will see a 404 page.
By default, a 404 page is rendered from the 404.php file that’s a part of your WordPress theme.
You can use:
- a default one,
- select one of the existing pages,
- or create a new page in WordPress.
Please note that in order to select a different page to act as a 404 page, that page has to be published & public.
Email Reports
If you would like to know what’s happening to the redirects on your website without having to log in, you can turn on the Email Reports. That way, the plugin will send you all the details via email so you can easily check what you’re interested in.
By default, this system is turned off.
How to enable Email Reports:
- Go to Settings -> 301 Redirects PRO
- Navigate to the Settings tab and open General Settings
- Find “404 Email Reports” or “Redirects Email Reports” setting
Under this setting, you can choose what to do with the Email Reports:
- Do not email any reports
- Send one email every 24 hours
- Send one email every week
Email Address for Reports
By default, WP 301 Redirects will recognize the admin email address and set it as the recipient of Email Reports.
But if you decide to change the email address, you can do that quickly:
- Go to Settings -> 301 Redirects PRO
- Navigate to the Settings tab and open General Settings
- Find “Email Address for Reports” setting
- Write down your email address
- Save changes
Log Retention Policy
In order to help you realize what’s happening with your 404 pages and Redirects, the WP 301 Redirects plugin keeps a log.
However, 404 & Redirects logs can take up some additional disk space on your server.
So, in order to control this, you can instruct the plugin on when to delete the logs.
By default, WP 301 Redirects will delete all logs older than 7 days. If you wish to change that, you should:
- Go to Settings -> 301 Redirects
- Open the Settings tab and click on the General tab
- Find “404 Log Retention Policy” or “Redirect Log Retention Policy”
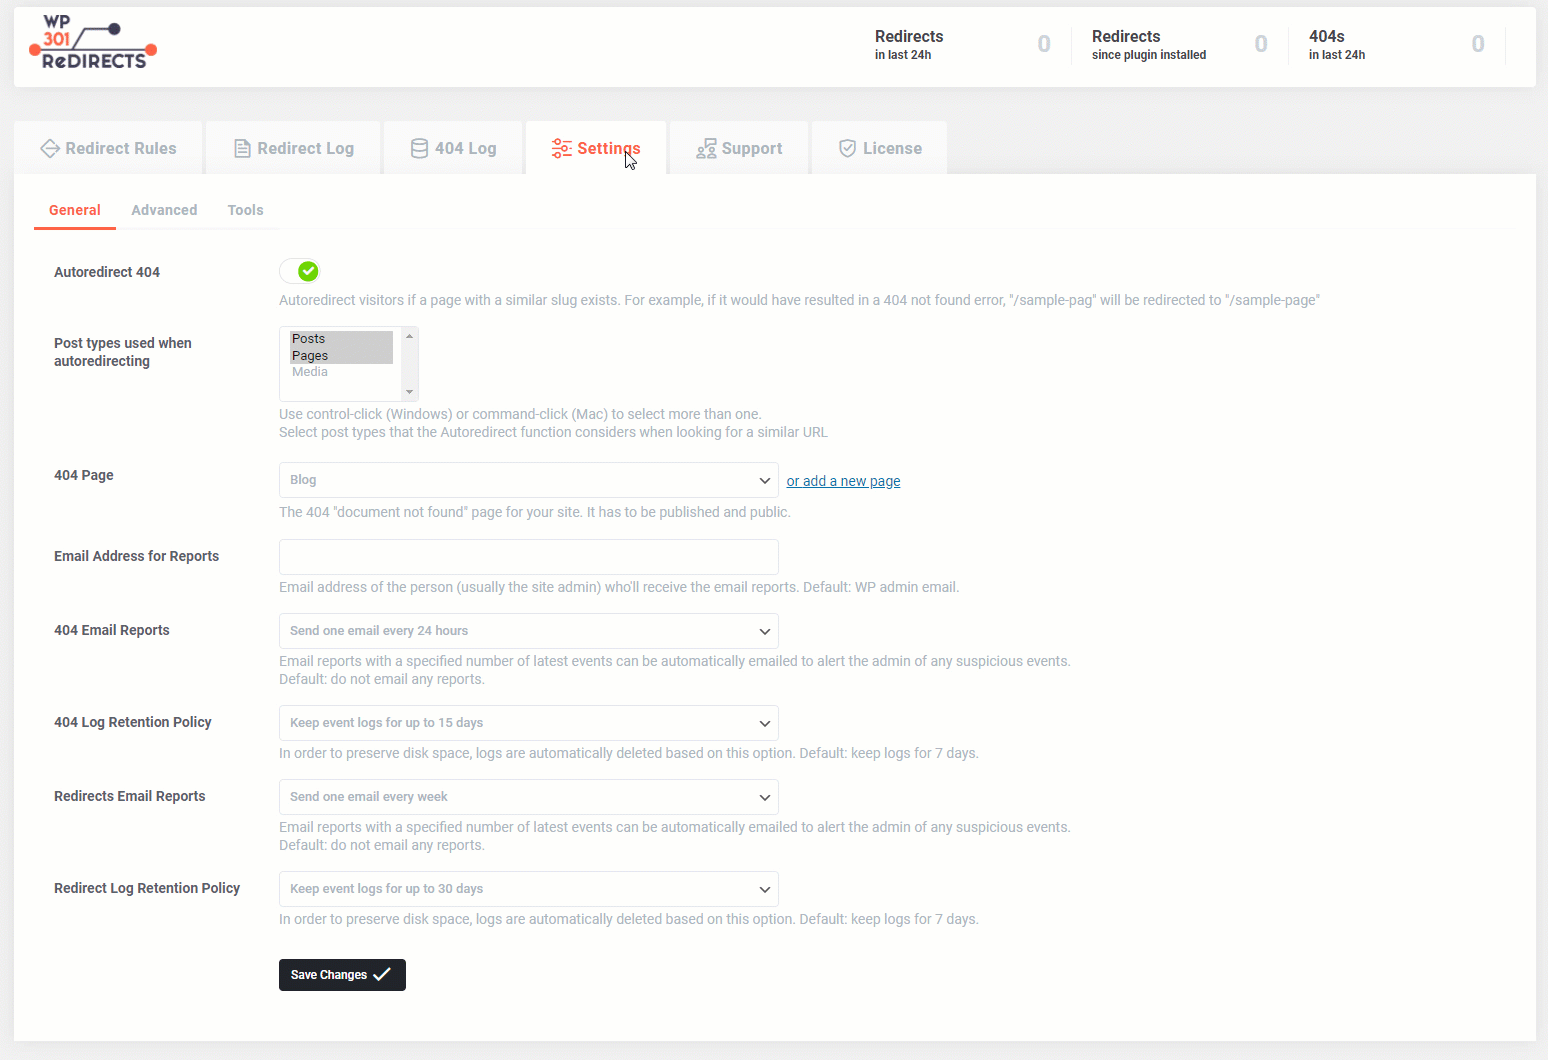
Under the setting, you can select one of the following options where you choose how many events to keep or the time period during which the logs will be kept:
- Keep a maximum of 100 logged events
- Keep a maximum of 200 logged events
- Keep a maximum of 500 logged events
- Keep a maximum of 1000 logged events
- Keep event logs for up to 7 days
- Keep event logs for up to 30 days
- Keep event logs for up to 45 days
- Keep event logs for up to 60 days
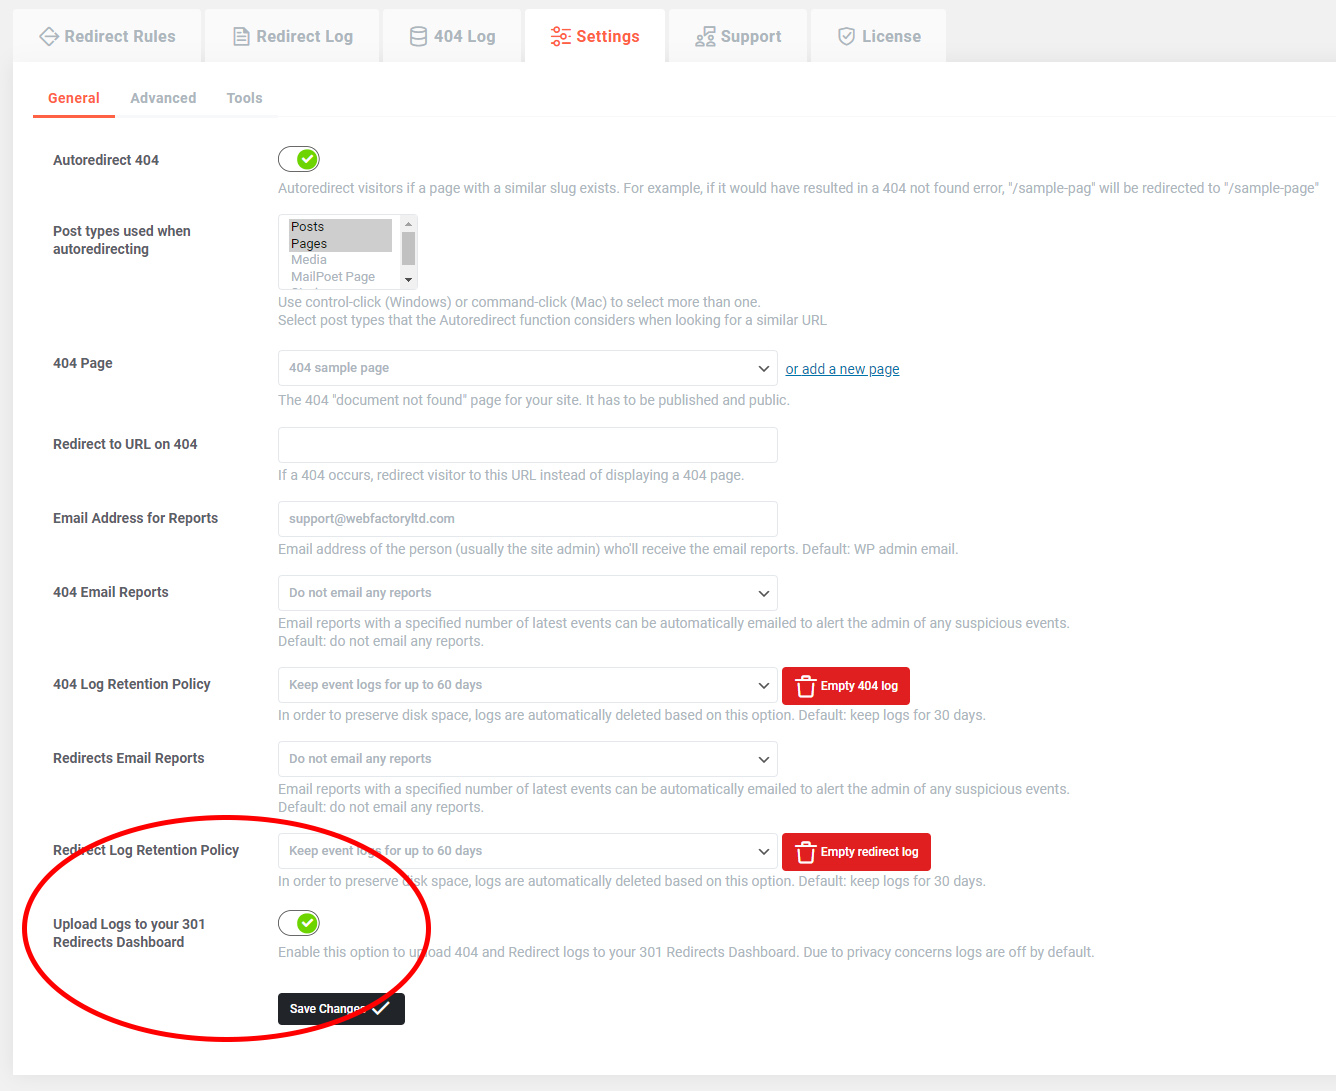
Upload Logs to the Dashboard
If your license allows you to see reports via the Dashboard, but you are still not able to access them, there’s one thing you should do – allow the plugin to send the logs.
- Open your WordPress site and log in
- Go to Settings -> 301 Redirects -> Settings -> General
- Scroll down and turn on the “Upload Logs to your 301 Redirects Dashboard” option
- Save changes